> For the complete documentation index, see [llms.txt](https://togethercrew.gitbook.io/onboarding/llms.txt). Markdown versions of documentation pages are available by appending `.md` to page URLs; this page is available as [Markdown](https://togethercrew.gitbook.io/onboarding/fundamentals/getting-set-up.md).
# Getting set up
Step1: Create an personal account
Head over to [https://www.togethercrew.com](https://app.togethercrew.com/login/) to create an account for your community. After selecting **Try now** and accepting our Privacy Policy and Terms of Services, you will be asked to connect your personal Discord account.

Step 2: Add your community by creating a community community
If your community has already been added to TogetherCrew, select it on the following screen and then click **continue**.
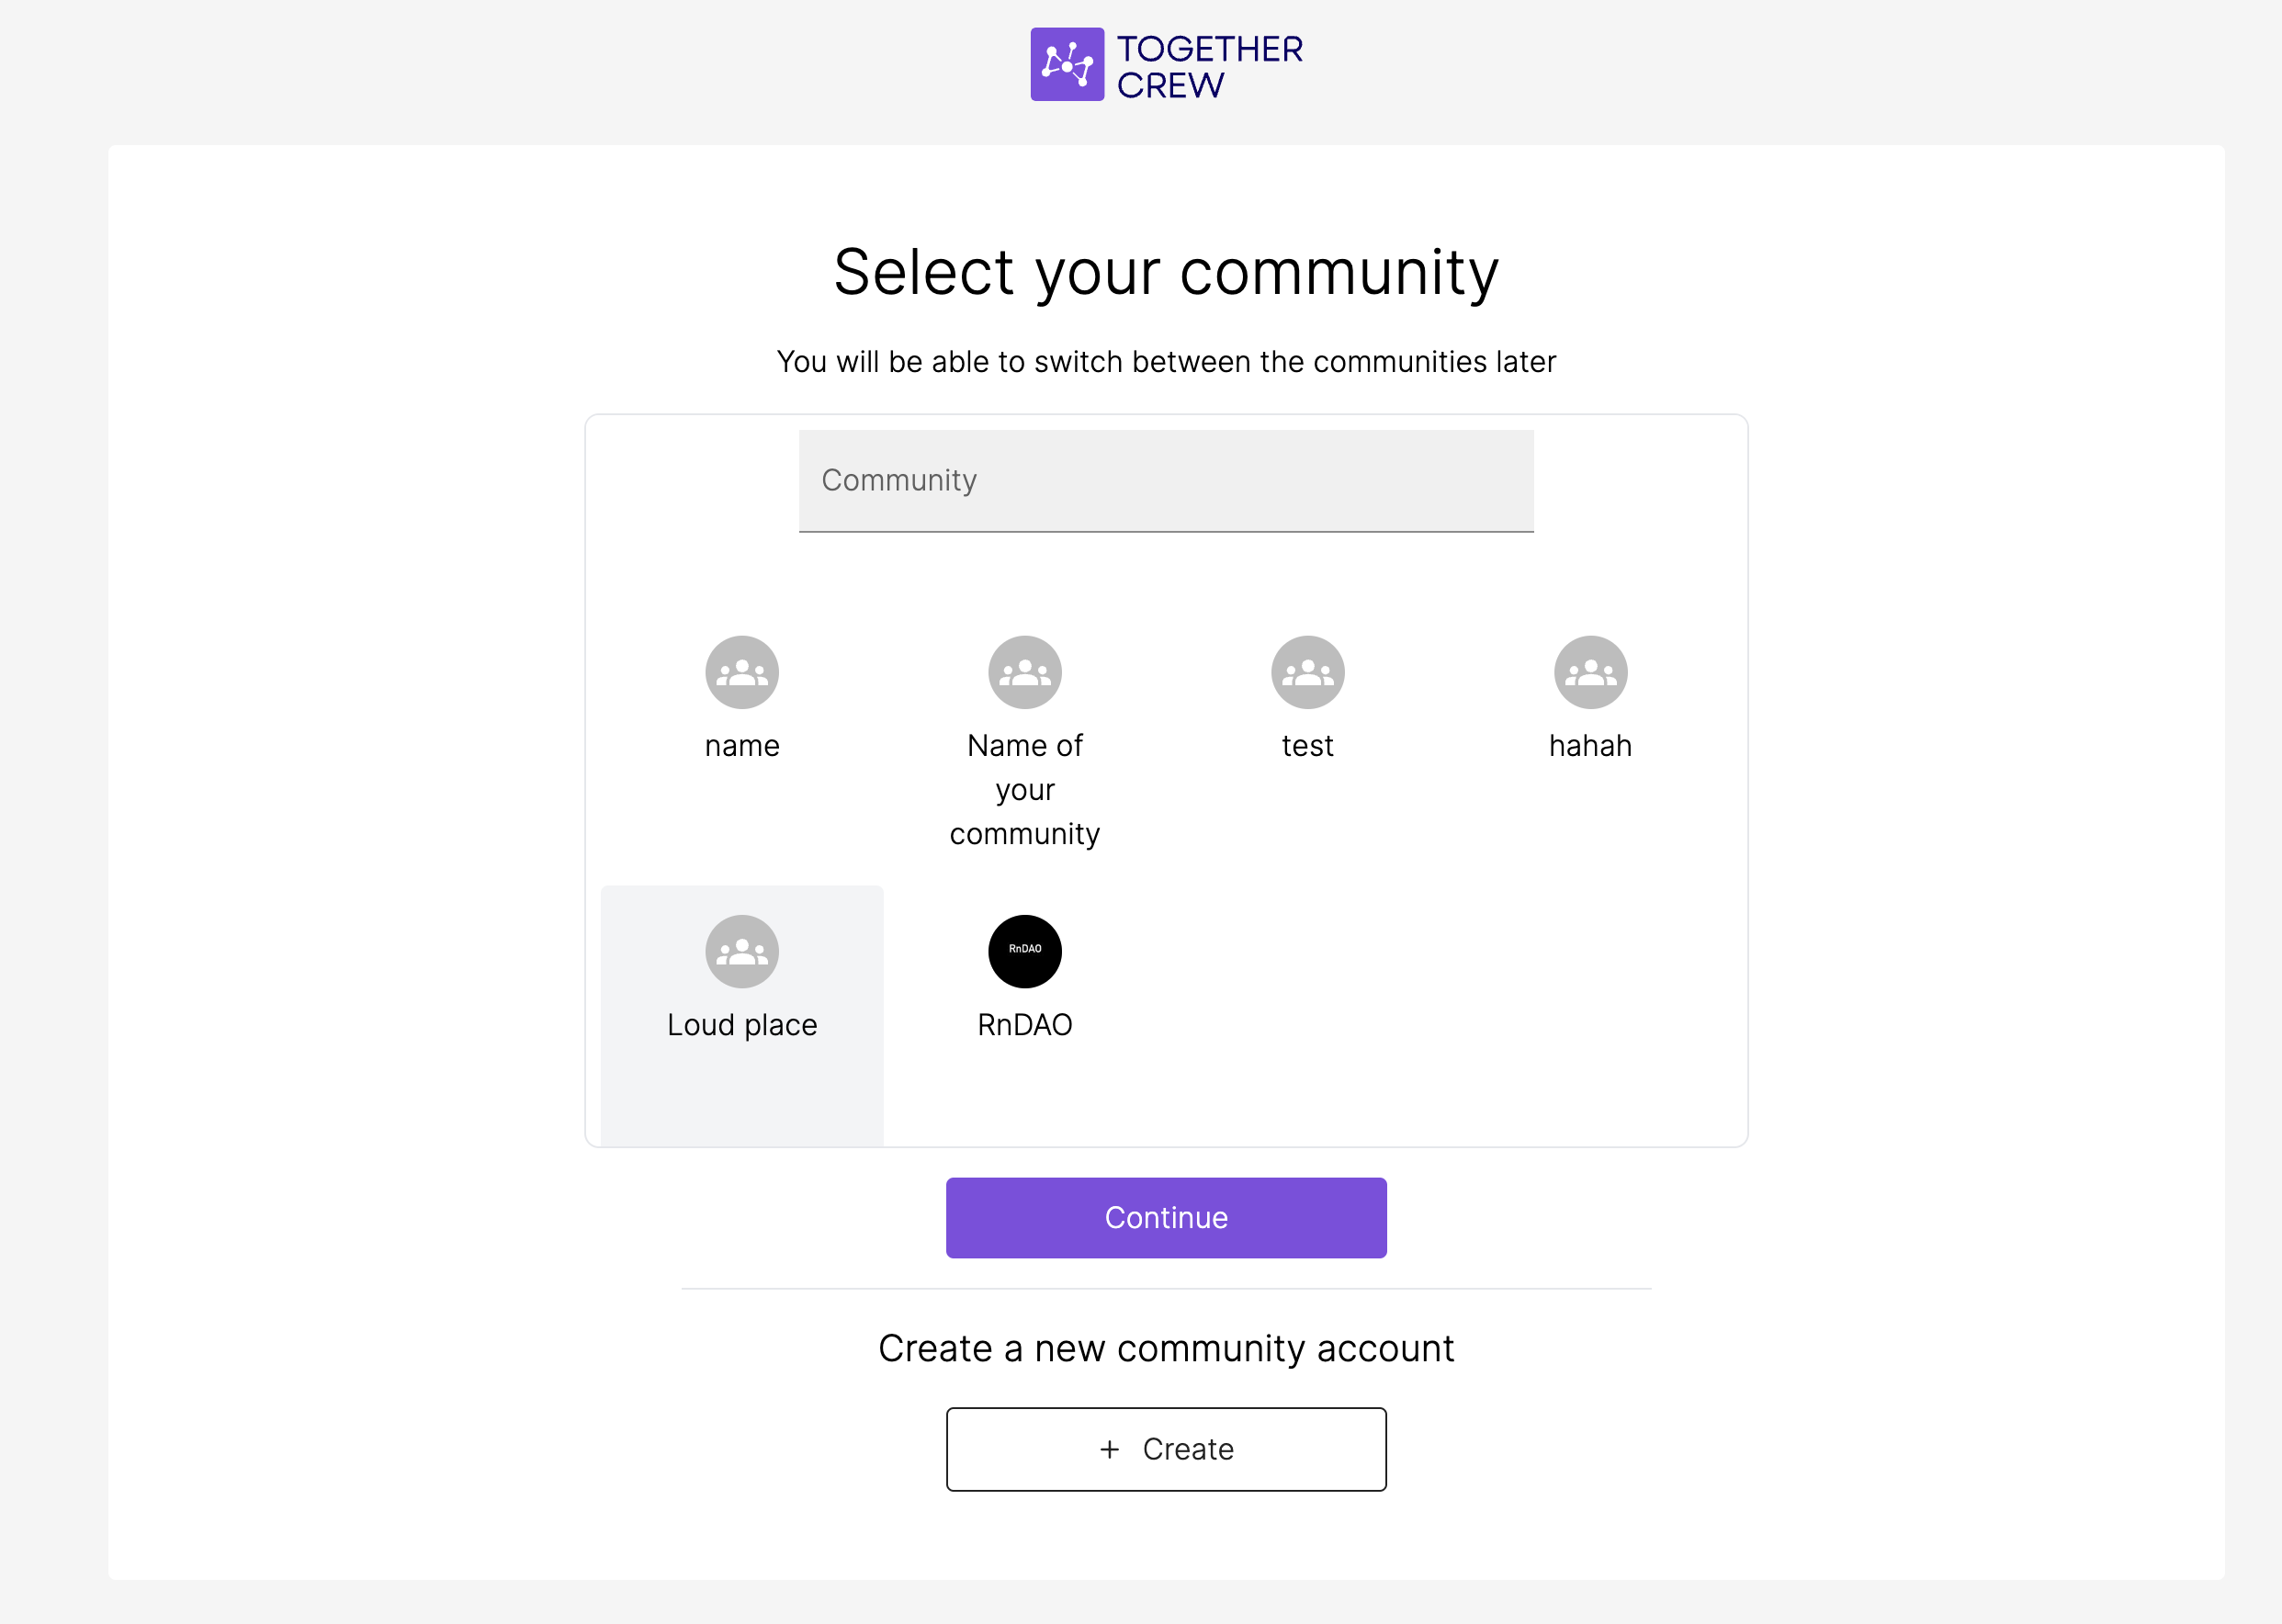 If you are the first one to create an account on TogetherCrew for your community, select **+ Create**. On the following screen add a name for your community and select **Create community.**
 
Now you are ready to connect your community. Select **connect your community**.

On the **community settings** page, select the platform you'd like to add by clicking on **+ Connect**.

Follow the onboarding flow from your select platform.
* Discord: Select the server name -> Continue -> Authorize. If you have 2FA enabled, add the code.
If you don't see your Discord community, you do not have the necessary permission to install the bot. Please contact your Discord server admin.

Now you are ready to connect your community. Select **connect your community**.

On the **community settings** page, select the platform you'd like to add by clicking on **+ Connect**.

Follow the onboarding flow from your select platform.
* Discord: Select the server name -> Continue -> Authorize. If you have 2FA enabled, add the code.
If you don't see your Discord community, you do not have the necessary permission to install the bot. Please contact your Discord server admin.
Step 3: Finish onboarding by fine-tuning TogetherCrew's access to your community
**Date Period**
The last step is to decide the access TogetherCrew should have in **Community Settings**. For Discord community we can analyze historical data. You have to decide how far back we should go. We suggest as a default time period *one month*.

**Channel access**
By default the bot does not have access to gated channels. Gated channels are those channels in Discord for which members need a specific Discord tag. They have a little lock symbol at the top right of the hashtag. To include these channels into your analytics you need to give TogetherCrew read access in your Discord.
* Navigate to the channel you want to import on Discord
* Go to the settings for that specific channel (select the wheel on the right of the channel name)
* Select **Permissions** (left sidebar), and then in the middle of the screen check **Advanced permissions**
* Select the plus sign to the right of Roles/Members and under **members** select TogetherCrew bot.
* With the TogetherCrew Bot selected, under Advanced Permissions, make sure that \[View channel] and \[Read message history] are marked as \[✓]

{% hint style="warning" %}
If you can't see all your channels, go to Discord user management and give the bot access to these channels. Read [Permission settings for Discord](/onboarding/fundamentals/adding-platforms/discord.md) for step-by-step instructions.
{% endhint %}
Step 4: View your dashboard
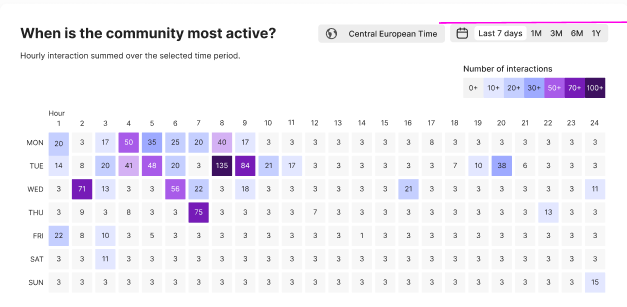
Go to Community Insights to see how healthy your community is.
Read the [Explainer](/onboarding/features/explainer-community-activity-level.md) to understand how the charts help you grow and sustain your community.
{% embed url="" %}